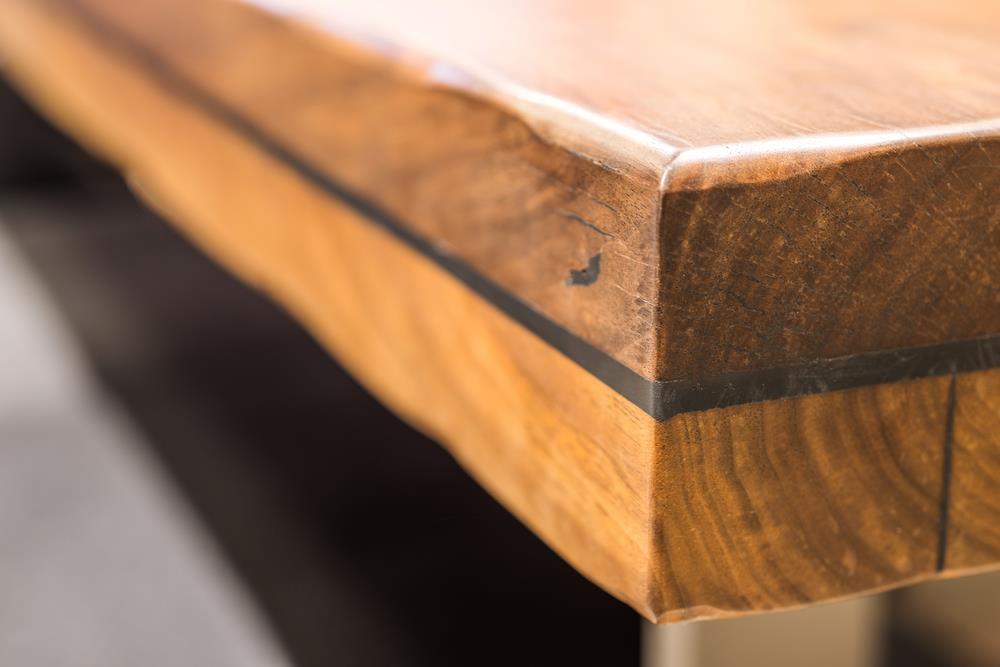
We cannot imagine a house without a beautiful wooden coffee table. It is not possible to hold a cup of coffee in our hand for a long time. A coffee table and a dining table are a decorative piece found in a living room and dining room.
Tables are now available with ultra modern designs, making them match with sofas.There are tables available where you can place books as a low base.
Decorative pieces add glamor to your living room. A coffee table must have the right amount of space to keep a cup of coffee, magazines, and newspaper. If there is lots of space on your table, it can tempt you to overload with items.
Wood Crafting a Table
There are numerous ways to create a beautiful table. First, you have to choose the wood you wish to use. In America, there are many options available for those who love to decorate their homes their way.
It depends on the place and availability of wood, to choose the wood. Walnut is very popular in Kashmir, and South Indians uses teak wood or sandalwood. Some varieties of wood which can be used to make furniture’s are:
- Teak wood
- Sandalwood
- Mahagony
- Mango
- Rosewood
- Walnut
You have to decide the shape and size of the table, whether you want square, rectangle or circle. The table can have a single stand or four legs to support.
You may draw design and patterns. Decide whether the table has to be carved, simply polished or painted.
When you make a table, plan around how many people will be seated at the table. Wood will change according to humidity and temperature. The basic structure of any table will remain the same.
How to Build a Wooden Table?
Required Tools
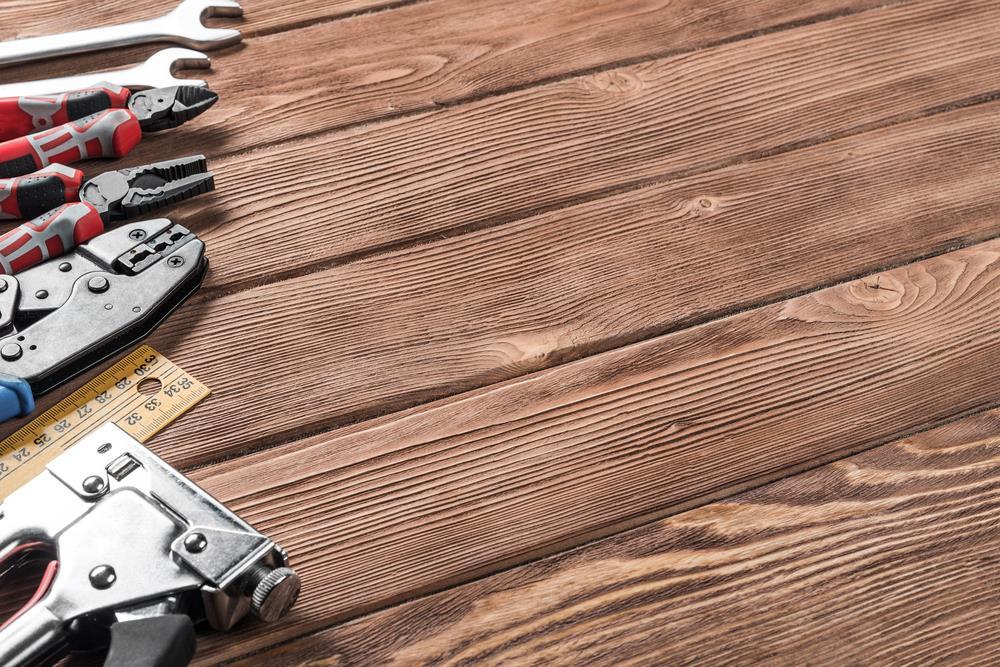
- Table saw – For ripping the wood to the width and cutting the notches for legs.
- Arm Saw – For cutting the wood to length.
- Pocket Hole Jig – Every joint on the table must use pocket holes.
- Drill/ Electric Screwdriver – The drilling machine can be used to drill holes and the electric screwdriver to drive the screws.
- Belt Sander – A sander machine is needed to smooth the wood all over the place.
Additional Miscellaneous
- Chain, harmer, sparkles and screw the distress the table.
- Brush, stain and paint thinner.
- To protect your finish, you may use polyurethane.
- Spray paint for screws.
Lumber
- 2”x8”x8’s – 3
- 4”x4”x8’s – 3
- 2”x4”x8’s – 4
- 2”x12”x12’s – 2
Hardware
- 2 ½” pocket hole screws around 100 numbers
- 1 ½” pocket hole screws around 100 numbers
- Brackets – 10
- 3/8” washers – 16
- 3/8”x3” lag screws – 8
- 3/8”x6” lag screws – 8
Things to Keep in Mind
- There should be at least 23”- 30” width of the table top.
- There should be 12” depth for setting each place and 6”-20” for the center of the table.
- Keep the dining room size in your mind, and at least you will need 32” between the back of each piece of the chair.
Here step by step instructions is given to build a wooden table of your own.
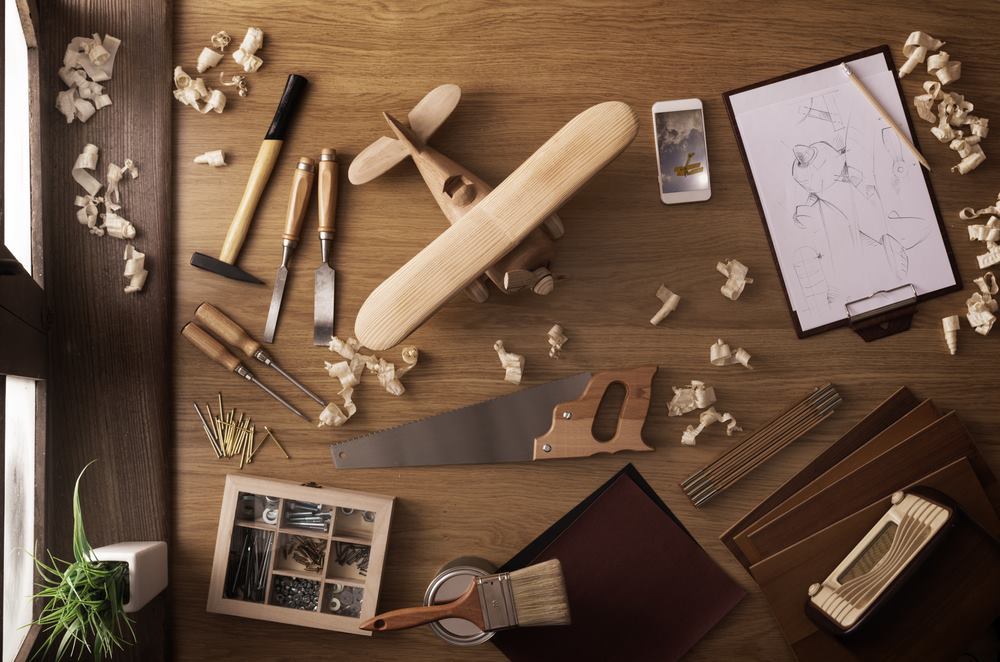
Step 1
First, you must make a rough design of the table on paper using a pencil and a ruler. Sketch down without worrying about the dimension.
The dimension can vary depending on the kind of table you wish to construct. A small coffee table will have a different dimension than a dining table. A rough design is needed to understand the size and shape of the table.
Step 2
With the rough dimension, you must figure out how much wood you will need. You must always consider a little extra wood.
If you are a beginner, you must use softwood to start with. Pinewood can provide you a better finish. If you are planning to use the table outdoors, you must treat the wood.
Step 3
You will have a rough idea how much wood you need to build the table. You must go and pick it up and don’t forget to check every board for bows. Look down the length of each wood piece.
Bowed wood will give you lots of trouble, so you must pick up the straightest board. Mark the lengths of the wood.
The next step is to cut the wood at the hardware store.
Make sure you label each piece before you take the wood to cut them. You should measure them twice before you start cutting.
If you are a beginner, you must use softwood to start with. Pinewood can provide you a better finish. If you are planning to use the table outdoors, you must treat the wood.
Step 4
The next step is to make the table top. There are two ways to construct a table top. You may use a single sheet of wood, and you may use hardwood or plywood. This could help you save money.
The second method is to use planking. This method can be less expensive using a single sheet.
The easiest would be using a groove or tongue planking. For this, you may use a dowel cutter to create a butt joint. Once decided on the method to make the table top, you have to cut, glue them and clamp the table top. Leave them overnight.
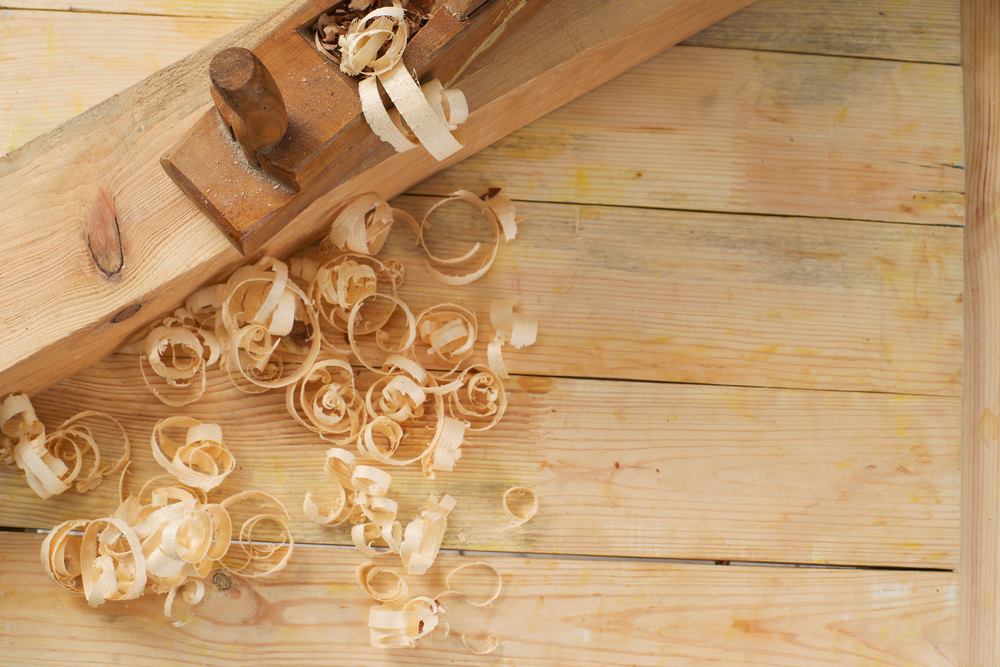
The top of the table is almost done. Using a belt sander get rid of lumber print marks or any incongruities. The rough spot and notes will look good with some stain, so you don’t have to sand those out. You may have the natural curves on the side of your table.
Step 5
Step 5 remains to build the under the table. The under table is the square of wood that has to be attached to the table top. It will support the legs, preventing from moving the table to sides.
Make sure you perform the entire task on a flat surface. For building the under the table you have to perform the following tasks.
- Measure the edges of your tabletop. The width may vary depending on the dimension of the table using a sketch pen mark at the position.
- Then you must turn over the table top to draw a square on the bottom of the table you have marked.
You may now cut two pairs of wood. There should be two front pieces and two side pieces. Using glue, clamp the pieces at the lines on the under a portion of the table.
Using an electric screwdriver, screw them into the table top permanently. It has to be screwed properly until the glue sets.
Step 6
The next step is to get ready to build the legs. You may cut one leg, according to the height you wish to have for your table. Then cut three other legs of the same size. Now clamp all the four legs together and cut the four legs to the same length.
You have to smooth the table legs using a power sander. You should never stand at the top and bottom of the leg as this could ruin your right angle cut.
Step 7
Now it is the time to attach the four legs to the table. First, you have to turn the table upside down. Take one leg piece and place it in one corner of the under the table with the top flat. The sides flat has to be against the under the table.
Apply glue top and each side of the leg also the interior side of under the table. Place the leg for the under the table and secure the legs using screws. Never use nails through the table and into the legs. The nails may not hold the table and legs in position. So it is best to use screws only.
Using a ruler, check the legs are at right angle to the table top. If needed you must adjust the screws. Repeat the same process for the rest of three legs and screw them to the table top properly. Check whether all the legs are glued and screwed properly. Also, check using a ruler, the legs are right angled to the table top.
Once everything is set up to clamp the legs in place properly, you may also place a screw at the top of the leg from the top side of your table. This process is optional. You must do it carefully; otherwise, the top of the legs can split while screwing into the end wood.

Step 8
You have to wait until all the glue is fully dry. You may wait till overnight. Remove the clamps. Then turn the table to the actual position and see whether the table is stable.
Placing the table on the floor, it should stand properly and should be leveled to the floor. You may try to make the table wobble. Using a power sander, you may send the top portion of the table.
You must send what degree of finish you wish to have. Then you may apply wood treatment like varnish or Tung oil on the table.
The table is ready now, and you may move it to the final destination. Find some chairs to the table, and you may keep a decorative piece on it.
Author Bio: Tommy works towards the increasing woodworking technology among the worldwide community. He ensures that people get more and more sources online to ensure they get in-depth knowledge on wooden crafting tools and techniques.

The post Table Wood Crafting: Best Free Guide To Leave A New Impression On Your Guests appeared first on Luxury Home Stuff.
source https://www.luxuryhomestuff.com/table-wood-crafting/
No comments:
Post a Comment